How to Make a Charm Necklace – Step by Step Guide
Essential Supplies for Making a Charm Necklace
Crafting a charm necklace is a rewarding project that demands surprisingly few materials. What makes it special? Limitless opportunities for personal expression.
-
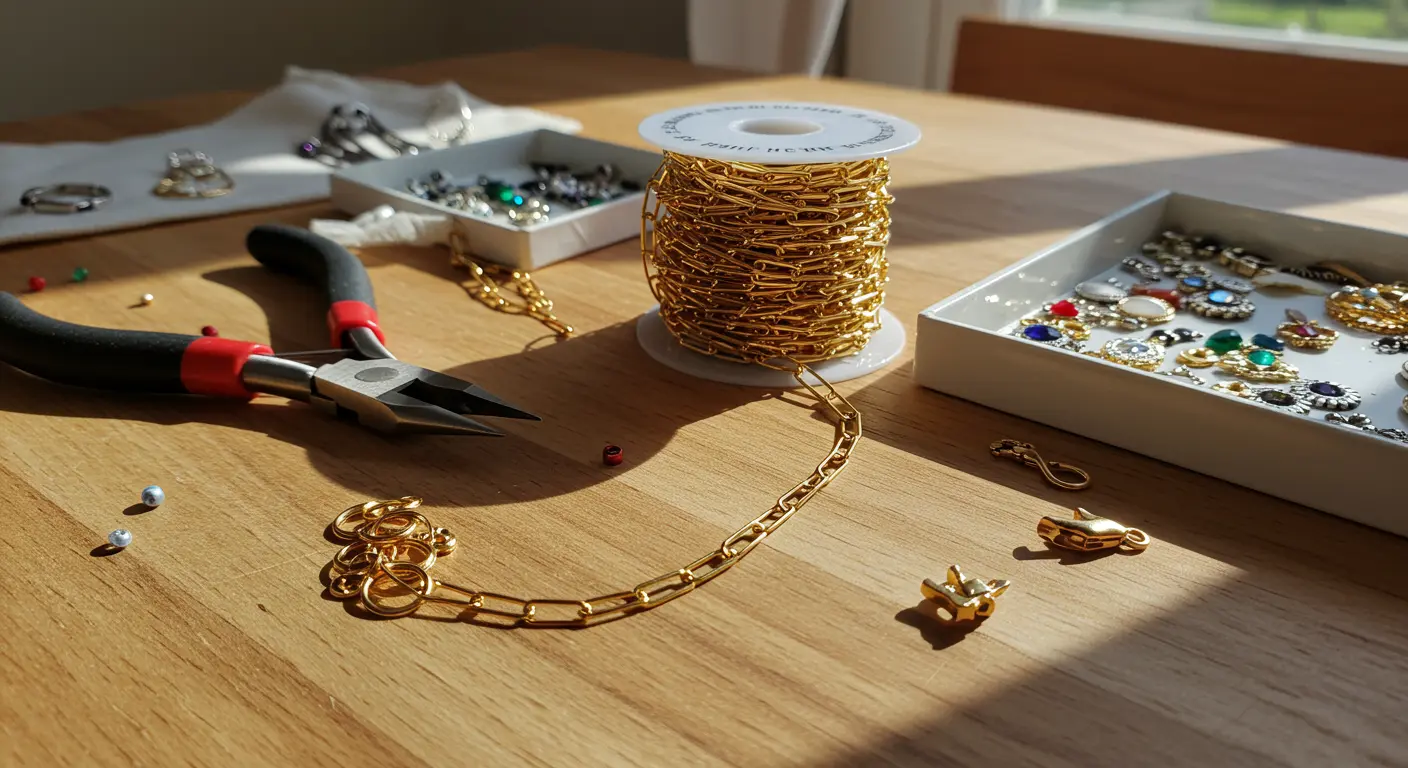
Chain: A ready-made neck let or a roll of chain material (e.g., 3mm paperclip style).
-
Charms: A selection that reflects your personal style.
-
Jump Rings: To connect the charms and clasp to the chain.
-
Clasp: A secure closure, such as a lobster clasp.
-
Jewelry Pliers: A set including needle nose (or snipe nose) and flat nose pliers is essential.
Jewelry Making Pliers – Choosing the Right Tools
Quality tools determine the quality of your finished piece. Two plier types are must-haves:
-
Needle Nose (or Snipe Nose) Pliers: Feature tapered tips ideal for gripping small components and working in tight spaces.
-
Flat Nose Pliers: Have wider tips that provide a firm, stable grip for opening and closing jump rings without marring the metal.
Beginners should invest in one quality pair of each type. Seek pliers with ergonomic handles and polished jaws—your components will thank you for avoiding unsightly scratches.
Jump Rings – How to Use Them Effectively
Jump rings are the workhorses of charm jewelry, acting as tiny but mighty connectors. Learn to use them properly for lasting results.
Proper jump ring technique takes practice. Grip the ring firmly with flat nose or snipe nose pliers, but resist the urge to pull the ends apart—this will ruin the ring’s shape.
With the ring open, thread your charm or slide it through the desired chain links. Closing requires the reverse twist—guide it back toward you until the ends meet, then continue slightly past for that extra security click.
For frequently worn pieces or substantial charms, upgrade to heavier-gauge jump rings. Consider soldering them permanently after assembly—this gives your piece professional durability.
Step-by-Step Instructions to Create Your Necklace
Navigate these straightforward steps to craft a personalized charm necklace.
Start by determining your ideal chain length. Standard 16-18 inches flatters most adults, while 20–24 inches creates dramatic statement appeal.
Secure your clasp using jump rings—one at each chain end to create a functional closure system.
Now for the exciting part: charm selection and placement. Choose pieces that speak to you—meaningful symbols, favorite styles, or anything that makes you smile.
Complete the assembly, then conduct a final fitting. Check both comfort and visual balance—this ensures you’ll love wearing your finished piece, whether for personal enjoyment or thoughtful gifting.
Cutting the Chain – Getting the Right Length
-
Choker (14-16 inches): Sits close to the neck.
-
Princess (18 inches): Rests near the collarbone.
-
Matinée (20-24 inches): Falls below the collarbone for a more dramatic look.
Achieving the perfect length requires careful measurement. Hold the chain against your neck or use a measuring tape to determine your preference, then add half an inch for clasp accommodation.
Post-cutting inspection is crucial—examine cut ends for sharp edges that might snag clothing or irritate skin. A metal file smooths any rough spots effortlessly.
Small details make a big difference. Consider adding a 2-3 inch extension chain to one end—this adjustable feature accommodates various necklines and layering preferences, giving you more styling options.
Attaching Charms – Personalizing Your Necklace
Charm attachment transforms your necklace into a personal narrative. Begin by arranging your chain and charms, experimenting with compositions until you achieve visual harmony.
For each charm, open a jump ring with your pliers and thread it through both the charm’s loop and your chosen chain link. Close securely, ensuring perfect end alignment prevents any escapes.
Clustering multiple charms creates dramatic focal points, while even spacing delivers balanced elegance. Mind the weight distribution—heavier charms can cause uneven hanging without proper counterbalancing.
Gemstone charms and wire-wrapped beads add sophistication to your design. Whether pursuing cohesive themes or embracing eclectic mixtures, every charm adds to your necklace’s personal story.
Tips for Customizing Your Charm Necklace
Customization makes your jewelry uniquely yours—each charm can represent important moments, interests, or symbols that matter to you.
-
Themed Collections: Group charms by a common theme, such as nature or travel.
-
Repurposed Items: Turn small trinkets, vintage buttons, or heirlooms into unique charms.
-
Seasonal Sets: Create necklaces for different holidays or seasons that you can update throughout the year.
You don’t need to finish your charm necklace all at once. Think of it as an ongoing project—add new charms over time to create a collection that grows with your experiences.
Adding Gemstones and Beads – Enhancing Your Design
Gemstones and beads add color, texture, and personal meaning into your creation. From symbolic birthstones to decorative crystals, each addition tells part of your story.
Stones lacking built-in loops need to be wire-wrapped—a technique that’s easier than it sounds. Select a head pin (straight wire with a flat stopper end) and thread your chosen gemstone, leaving approximately one inch of wire extending beyond.
Using round nose pliers, create a 90-degree bend just above the bead, then form a neat loop. Wrap the wire tail securely around the section below your loop for a professional finish.
Your newly created loop attaches to the chain via jump ring, identical to standard charm installation.
Strategic gemstone selection enhances your overall design. Blue topaz or aquamarine harmonizes beautifully with ocean themes, while earthy jasper or agate complements nature motifs perfectly. Choosing stones that match your theme creates a more polished, cohesive look.
Affordability and Accessibility of DIY Charm Necklaces
DIY charm necklaces cost much less than store-bought designer pieces while giving you something completely personalized.
Essential supplies—chain, jump rings, and clasps—remain remarkably affordable and widely accessible. Your tool investment pays dividends across countless future projects.
Charms span every budget range, from economic base metals to luxurious sterling silver options. You maintain complete financial control throughout the creative process.
Beginner-friendly techniques require minimal practice to master. The learning curve remains refreshingly gentle, encouraging experimentation and confidence building.
The combination of low cost and easy techniques makes DIY charm necklaces a perfect hobby—you’ll create beautiful, personalized pieces that look much more expensive than they actually are.

