Heidi Braids Tutorial – Step-by-Step Guide
What Are Heidi Braids? – An Overview
Heidi braids, also known as milkmaid braids, are a timeless hairstyle that creates an enchanting crown-like effect around your head. What makes them so appealing? Their simple elegance—no complex French or Dutch braiding techniques required. Named after the beloved character in Johanna Spyri’s classic novel, this style exudes rustic charm while offering a practical solution for keeping hair elegantly contained.
The technique involves crafting two simple braids and positioning them across your crown—creating an effortlessly elegant, feminine silhouette that adapts beautifully to any occasion. Festival-bound? Wedding guest? Or perhaps you’re simply seeking a chic escape from summer heat? Heidi braids deliver both practicality and visual appeal.
This traditional style has experienced a resurgence in recent years. Their popularity comes from accessibility. Even complete braiding novices can achieve stunning results with just a bit of practice and patience.
How to Create Heidi Braids – Step-by-Step Tutorial
Crafting your own Heidi braids—this classic milkmaid undo—is surprisingly straightforward. This tutorial will guide you to that elegant, crown-like style in just minutes.
-
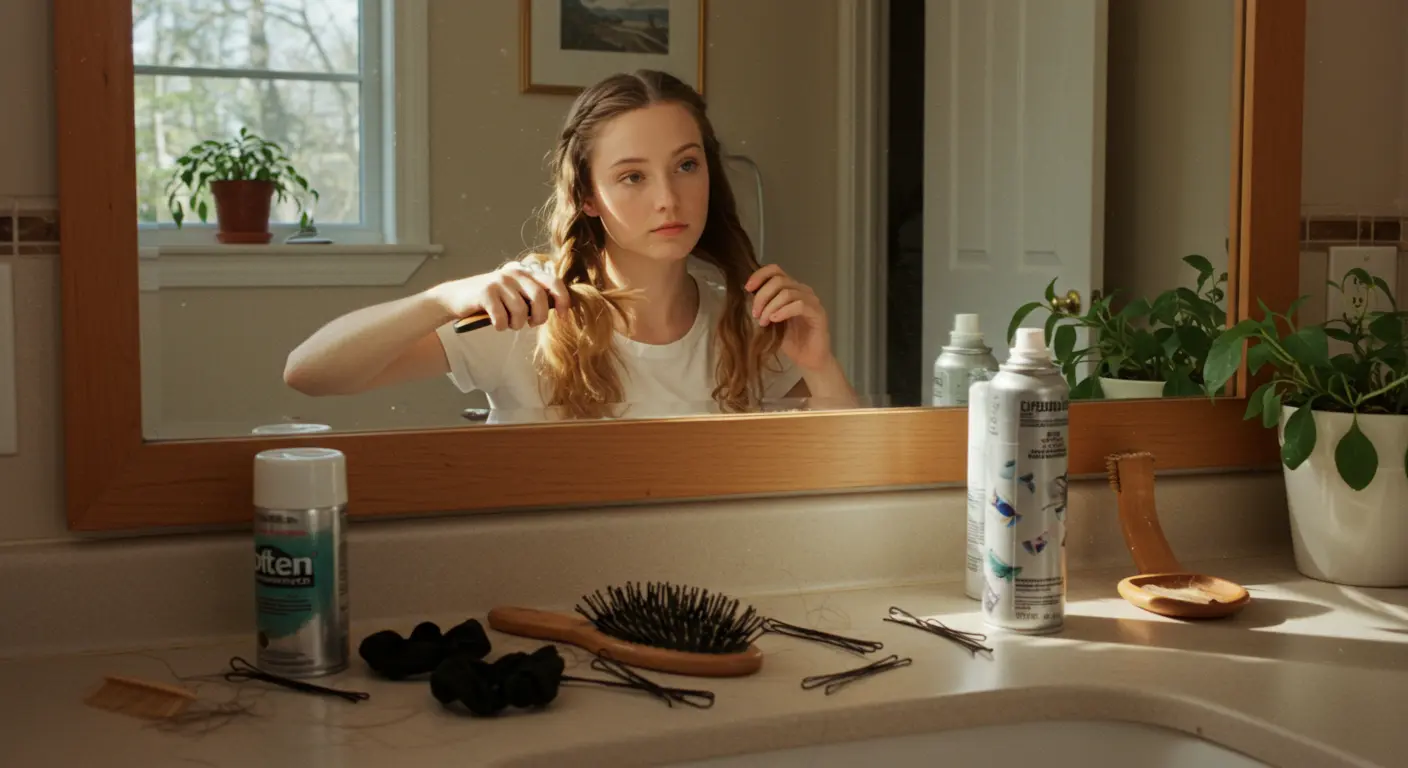
Prep Hair: Begin by brushing thoroughly to eliminate any tangles. Create a precise center part running from your forehead to the nape of your neck, dividing your hair into two perfectly equal sections.
-
Create Braids: Fashion a classic three-strand braid from each section, securing the ends with matching hair ties.
-
Position First Braid: Lift your first braid up and across your crown. Secure with bobby pins, carefully tucking the end underneath for a clean, polished finish.
-
Position Second Braid: Guide the second braid up and across, allowing it to overlap elegantly with the first. This creates your crown effect—secure with bobby pins while concealing the end.
-
Add Volume (Optional): For a relaxed, Bohemian look, gently tug the edges of the braids to loosen them (“pancaking”).
-
Set the Style: Finish with a light mist of hairspray, to help the style last.
Essential Tools for Creating Heidi Braids
Having the right tools makes braiding easier and helps your style last longer. Here’s what you’ll need:
-
Hair Ties: Small, color-matching elastics to secure braid ends without adding bulk.
-
Bobby Pins: At least 8-10 strong, color-matching pins to hold braids securely. Textured or grip pins are ideal for fine hair.
-
Smoothing Brush or Wide-Tooth Comb: A brush to detangle and smooth hair, or a comb for curly/textured hair to prevent breakage.
-
Styling Products: Medium-hold hairspray to set the style, texturizing spray for grip, and wax or pomade to tame flyaways.
Techniques for Perfecting Your Heidi Braids
Creating great Heidi braids depends on understanding a few fundamental techniques. The good news: this style celebrates rustic, effortless charm over technical perfection, making it accessible even for complete beginners.
-
Proper Sectioning and Tension: Begin with a clean center part—this ensures perfectly balanced braids. While braiding, maintain steady, consistent tension. Aim for neat but never uncomfortably tight.
-
Secure Pinning: Use an “X” formation with bobby pins for maximum hold by crossing one pin over another. For thick hair, consider using spin pins for extra security.
-
“Pancaking” for Volume: After securing the braids, gently tug on the outer edges of each braid segment to widen them. This creates a fuller, more voluminous appearance.
The key to great Heidi braids: embrace imperfection. This style thrives on rustic charm—those few wayward strands or slightly uneven sections? They’re not flaws; they’re features that create that natural, lived-in quality. Your goal isn’t perfection; it’s creating a look that feels effortlessly beautiful while remaining secure enough to carry you gracefully through your entire day.
Variations of Heidi Braids – Explore Different Styles
-
Fishtail Heidi Braids: Swap those standard braids for intricate fishtail patterns, creating a more sophisticated, richly textured crown.
-
Bubble Heidi Braids: Uses small elastics along the braids, with sections pulled out to create rounded “bubbles,” adding volume and dimension.
-
Twisted Heidi Braids: The beginner’s dream—simply twist your hair sections into elegant ropes rather than traditional braids. Easier technique, equally stunning results.
-
Accessorized Braids: Make it uniquely yours by weaving in silky ribbons, tucking in fresh flowers, or adorning with decorative pins—think lustrous pearls or gleaming metallic accents.
-
Half-Up Heidi Braids: Crown only the upper portion of your hair with braids, allowing the remaining lengths to cascade freely—perfect for showcasing beautiful hair texture or color.
Heidi Braids for Festivals – A Fashion Statement
Heidi braids have transformed from what was once called the ‘Hausfrau style’ into a social media sensation and festival must-have. This shows how classic styles can be reimagined for contemporary culture.
This style keeps hair securely contained during marathon days of dancing in sweltering heat, while simultaneously creating that Bohemian, free-spirited aesthetic that defines festival culture. Unlike elaborate festival hairstyles requiring professional expertise, Heidi braids are wonderfully accessible—festival-goers can master them independently, even in basic camping conditions with minimal resources.
The festival scene has inspired creative adaptations. Enthusiasts frequently elevate their braids with:
-
Vibrant temporary color sprays or dazzling glitter roots that catch the light.
-
Intricately woven accessories—think rainbow threads, Bohemian beads, or striking metallic cuffs.
-
UV-reactive elements that transform into glowing masterpieces under backlights during nighttime sets.
Social media has created a supportive community where people eagerly share their unique interpretations and techniques, inspiring others to experiment fearlessly with the style. The hashtag #HeidiBraids has amassed millions of views across platforms, with festival season creating especially large spikes in popularity.
Beyond looks, there’s the practical benefit of Heidi braids. The style can endure for several days with only minimal touch-ups—making it perfect for multi-day festival adventures. This combination of style and practicality has firmly established it as an indispensable festival staple.
User Feedback and Tips – What Others Are Saying
Many people are surprised by how easy this seemingly complex style actually is. \” I always thought crown braids required advanced skills, but Heidi braids gave me the same look with basic braiding techniques I already knew, \” reports one user who now incorporates the style into her weekly rotation.
For those with fine hair, community tips focus on making hair look thicker. \” Applying dry shampoo before braiding adds great texture and grip, \” suggests a popular beauty blogger. \” Then I use the ‘pancaking’ technique to gently pull my braids wider, which makes my fine hair look twice as thick.\” Others recommend braiding slightly damp hair with a small amount of mousse for added control and volume.
Securing the braids properly is the most common challenge. \” What really helped me was using bobby pins in an X formation, \” shares one long-time Heidi braid enthusiast. \” I place one pinpointing downward, then cross another over it pointing upward. My braids stay put all day, even through dance classes.\” For those with particularly heavy or slippery hair, users recommend spin pins as an alternative to traditional bobby pins, citing their superior holding power.
Festival-goers especially love the style’s durability. \” I wore my Heidi braids for a three-day music festival with minimal touch-ups, \” one user comments. \” They actually looked better on day two with a slightly messier, lived-in quality.\” Experienced festival-goers recommend packing travel-sized hairspray and backup bobby pins for effortless touch-ups during extended wear.
The versatility of Heidi braids gets consistent praise across user feedback. \” I wear them with casual outfits for a Bohemian vibe, but they also worked perfectly with my formal dress for a wedding, \” notes one reviewer. Social media is full of creative variations—vibrant extensions for festival season, elegant accessories for special occasions—showing how this basic technique works for almost any look.
Many users report that the style becomes faster to create with practice. \” What took me 20 minutes the first time now takes less than 5,\” shares a dedicated fan. \” It’s become my go-to look when I need to look put-together but don’t have much time.\” This quick learning curve explains much of the style’s lasting popularity.

