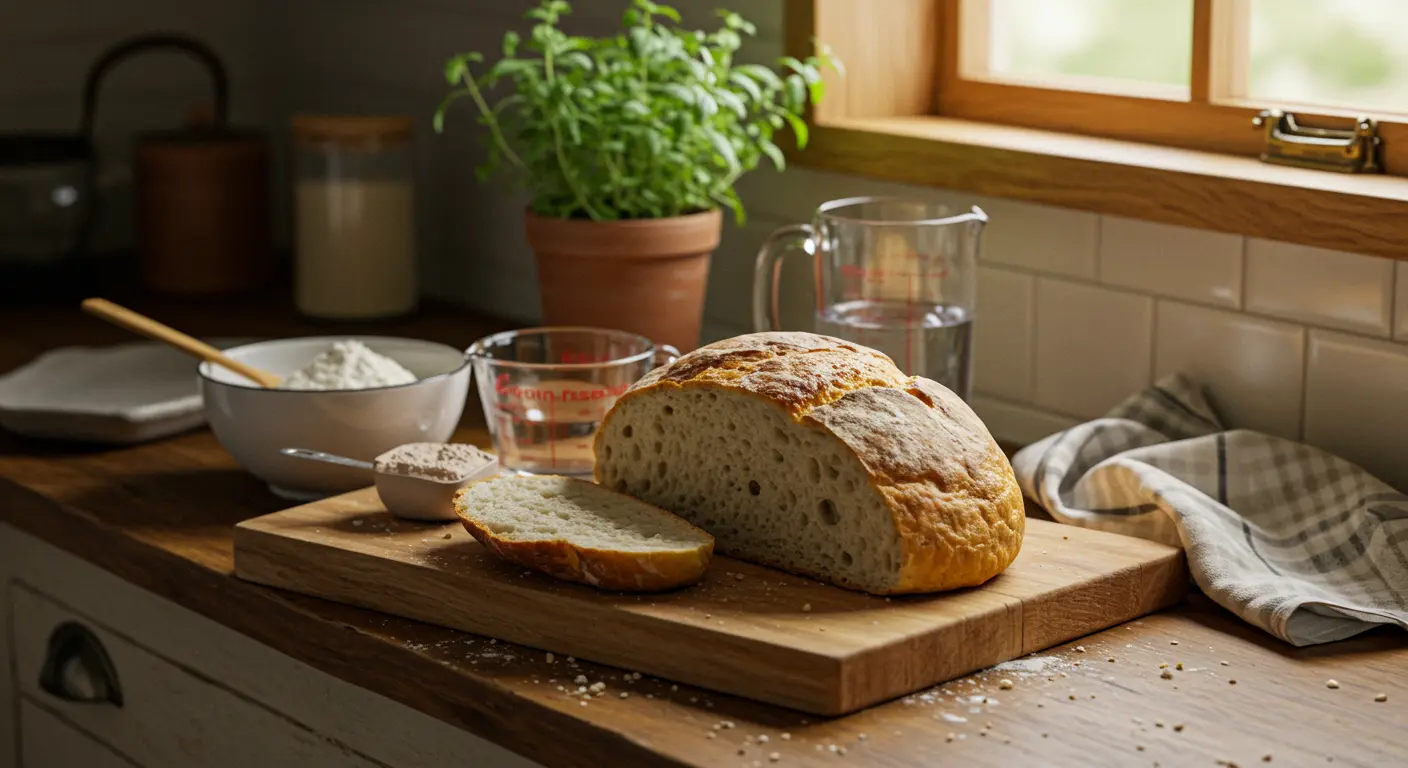
How to Make Peasant Bread – Easy No-Knead Recipe

What is Peasant Bread? – Understanding the Basics
Peasant bread is a rustic loaf steeped in medieval tradition. Born from necessity, it emerged when resourceful peasants transformed whatever grains they could gather into simple, nourishing bread that required minimal effort yet provided maximum satisfaction.
What makes it so appealing? Pure simplicity and remarkable affordability. Traditional recipes rely on just a handful of basic ingredients—a democratic approach that ensured even the humblest households could create something deeply satisfying. Unlike the enriched breads of the aristocracy—often containing butter, sugar, and eggs—peasant bread was purely functional, designed for sustenance.
Today, “peasant bread” has become something of a culinary rebellion—a deliberate return to authenticity in our increasingly processed food landscape. Modern versions often celebrate whole grains and minimal processing, appealing to those seeking authentic food. Home bakers find themselves drawn to its remarkably forgiving character. No specialized equipment? No problem. Imprecise measurements? Still delicious. Skip the marathon kneading session? You’ll still achieve bakery-worthy results.
Key Ingredients for Peasant Bread – What You Need
The beauty of peasant bread lies in its remarkable simplicity—just four essential ingredients, most likely already waiting in your pantry:
-
Flour: All-purpose flour provides structure and substance, though you can use bread flour for a chewier texture or whole wheat for added nutrition.
-
Water: Simple tap water hydrates the flour and activates the yeast. The high hydration level creates the bread’s characteristic open, airy crumb.
-
Salt: Beyond flavor, salt strengthens the gluten structure and controls yeast activity, preventing a flat taste and poor texture.
-
Yeast: Instant or active dry yeast provides the fermentation that makes the bread rise. A long, slow rise compensates for the lack of kneading.
The versatility doesn’t end there. Fresh herbs can infuse aromatic complexity. Grated cheese adds richness. Olives contribute briny depth. Seeds provide delightful texture. Each addition transforms the humble base into something uniquely yours while preserving that essential rustic soul.
How to Make Peasant Bread – Step-by-Step Instructions
Creating peasant bread feels almost magical in its simplicity, particularly when you embrace the no-knead approach. Gone are the days of intimidating kneading marathons. This method delivers professional-quality results—think crackling crust meeting pillowy interior—with minimal fuss.
First, assemble your simple arsenal. Here’s the good news: precision isn’t critical with this forgiving recipe, but these proportions create an excellent foundation:
-
4 cups all-purpose flour
-
2 teaspoons salt
-
2 teaspoons sugar
-
2¼ teaspoons instant yeast
-
2 cups lukewarm water
Simply combine these humble ingredients into a sticky, shaggy dough. Forget everything you know about traditional bread-making—no marathon kneading sessions required here. Time becomes your secret weapon, developing gluten structure while you go about your day.
This method practically eliminates the guesswork. The high hydration level creates steam during baking, which helps develop that characteristic crispy crust without special techniques or equipment. Two hours later—most of it blissfully hands-off—you’ll pull a gorgeously rustic loaf from your oven that rivals any artisanal bakery.
Mixing the Dough – The First Step
The mixing process is refreshingly simple. Your arsenal? A generous bowl and trusty rubber spatula. That’s it. Start by whisking together the dry ingredients (flour, salt, sugar, and yeast) in your bowl. This brief dry mixing ensures the ingredients are evenly distributed before adding liquid.
Add your lukewarm water next—aim for that perfect 110°F sweet spot where it feels pleasantly warm against your wrist, never hot. Using your rubber spatula, mix everything together with a circular motion, scraping down the sides as you go. Unlike traditional bread recipes that call for kneading until smooth, you’re simply aiming to incorporate all the flour until no dry patches remain. The result? A rough, shaggy, sticky mass that might look chaotic but is absolutely perfect
With your dough complete, drape it with a damp tea towel or plastic wrap—creating a cozy, humid haven that prevents unwanted drying. This covering creates the humid environment needed for proper rising. The entire mixing process takes less than five minutes, making it perfect for busy schedules or spontaneous baking sessions. Here’s your mantra: embrace the mess. That rustic, imperfect appearance isn’t a flaw—it’s the hallmark of authentic peasant bread.
Rising Time – How Long to Wait
This rising phase transforms your ingredients, transforming simple ingredients into complex flavors and irresistible textures. After mixing your dough, place the covered bowl in a warm, draft-free spot in your kitchen. Aim for 75-85°F—the ideal temperature range. Too cool and your rise will be sluggish. Too warm, and you’ll kill the yeast or develop off flavors.
Plan for roughly 1 to 1½ hours of patient waiting, though your kitchen’s unique personality—its temperature and humidity—will ultimately dictate the timeline. During this period, the yeast consumes the sugars in the flour, producing carbon dioxide that creates bubbles throughout the dough. This fermentation process not only helps the bread rise but also develops its flavor and texture.
Ready to test for doneness? Your dough should have doubled in size, sporting a beautifully puffy, aerated appearance that practically begs to be baked. If you gently poke the dough with a floured finger, it should slowly spring back but leave a slight indentation. Don’t worry about perfect timing, as the recipe is forgiving. If your schedule changes, you can even let it rise longer (up to 2 hours) or place it in the refrigerator to slow the process down. Such flexibility makes this bread a true friend to bakers everywhere—from nervous beginners to seasoned pros juggling busy schedules.
Best Baking Vessels for Peasant Bread – Choosing the Right Pan
Your choice of baking vessel significantly affects your bread’s final character—from crust crispness to crumb structure. Several stellar options await the home baker, but here’s the key: preheat that vessel (glass excluded—nobody wants shattered dreams or cookware) for maximum crust crispness.
-
Dutch Oven: The preferred choice, this heavy, lidded pot traps steam to create a superior crackling crust and open crumb.
-
Loaf Pan: Ideal for a softer crust and uniform slices perfect for sandwiches. A medium-sized (8½ × 4½ inches) pan works well.
-
Pie Plate or Cast-Iron Skillet: These wide, shallow vessels create rustic round loaves with excellent crusts, with the skillet providing intense bottom heat.
-
Pyrex Bowl: A great beginner’s option, its rounded shape guides the dough’s rise, and the glass allows you to monitor browning.
Peasant Bread Variations – Get Creative
Master the foundation, and you’ll have endless creative possibilities. This simple base becomes your canvas for flavor adventures, textural experiments, and artistic expression.
-
Nutrient-Rich: Add ¼ cup of cooked quinoa and 2 tablespoons of flax seeds for a protein and omega-3 boost.
-
Oatmeal Maple: Create a sweet breakfast bread by replacing ½ cup of flour with rolled oats and adding 2 tablespoons of maple syrup.
-
Savory Cornmeal & Jalapeño: Substitute ¾ cup of flour with cornmeal and fold in diced jalapeños and shredded pepper jack cheese for a spicy kick.
-
Cinnamon Sugar Monkey Bread: For an indulgent treat, roll small dough pieces in a cinnamon-sugar mixture and bake them in a Bundt pan.
The versatility extends far beyond the mixing bowl. Yesterday’s loaf transforms beautifully—think crispy skillet pizza bases, golden paninis, or rustic manzanilla. Toast it. French toast it. Turn it into decadent bread pudding or perfectly seasoned croutons.
Every variation springs from that same foolproof foundation, giving you the confidence to experiment boldly while preserving the soul of authentic, homemade goodness.
Storing Peasant Bread – Keeping It Fresh
The journey doesn’t end when your bread emerges golden from the oven—proper storage is essential for maintaining that just-baked quality. Unlike commercial bread loaded with preservatives, homemade peasant bread has a shorter shelf life but superior flavor and texture when stored correctly.
This is where patience matters: let that gorgeous loaf cool completely on a wire rack before even thinking about storage. This might take 1–2 hours depending on the size of your loaf. Rush this step, and you’ll trap moisture inside, transforming your crispy crust into a soggy disappointment while creating a mold-friendly environment.
For short-term enjoyment—we’re talking 1-2 days—embrace the gentle embrace of a clean kitchen towel or eco-friendly beeswax wrap at room temperature. This method preserves the crisp crust better than plastic, which tends to soften it. If you prefer a softer crust, plastic wrap works well, but be aware that it accelerates moisture accumulation.
When planning ahead, freezing works better than refrigeration. Here’s something counterintuitive: refrigerators actually fast-track the staling process through their specific temperature range. To freeze peasant bread, wrap it tightly in plastic wrap, then in aluminum foil or place it in a freezer bag with the air pressed out. Frozen bread maintains quality for up to three months. When you’re ready to enjoy it, thaw the bread at room temperature in its wrapping, then refresh it in a 350°F oven for 5–10 minutes to restore the crust.
Baking Tips for Perfect Peasant Bread – Expert Advice
Peasant bread may be forgiving, but a few professional secrets can transform your good loaves into exceptional ones. These insights address common challenges and help you achieve consistently great results.
-
Tame That Sticky Dough: Combat stickiness with lightly oiled hands rather than extra flour—your bread will thank you by staying light and airy instead of turning dense. Work quickly to avoid deflating the air bubbles.
-
Embrace Imperfect Shaping: A rustic, irregular appearance is part of the bread’s charm. Use a gentle lift-and-tuck method to create surface tension for a round loaf.
-
Prioritize Temperature and Steam: Preheat your oven thoroughly (425-450°F). To create steam for a better crust, place a pan of hot water on a lower rack or use a covered Dutch oven.
-
Cool Before Cutting: Let the bread cool on a wire rack for at least an hour. This crucial step allows the crumb structure to set and prevents a gummy texture.


